
Polka Dot Cat Eye Nails: 15 Ideas & How to Get the Look
The design is exactly what the name promises: a magnetic cat eye base pulled into a soft velvet glow, then finished with small, deliberate dots in a contrasting shade. The look matters in 2026 because it has moved from niche nail art into mainstream search. Pinterest recorded a rise of more than 1,500% in searches…
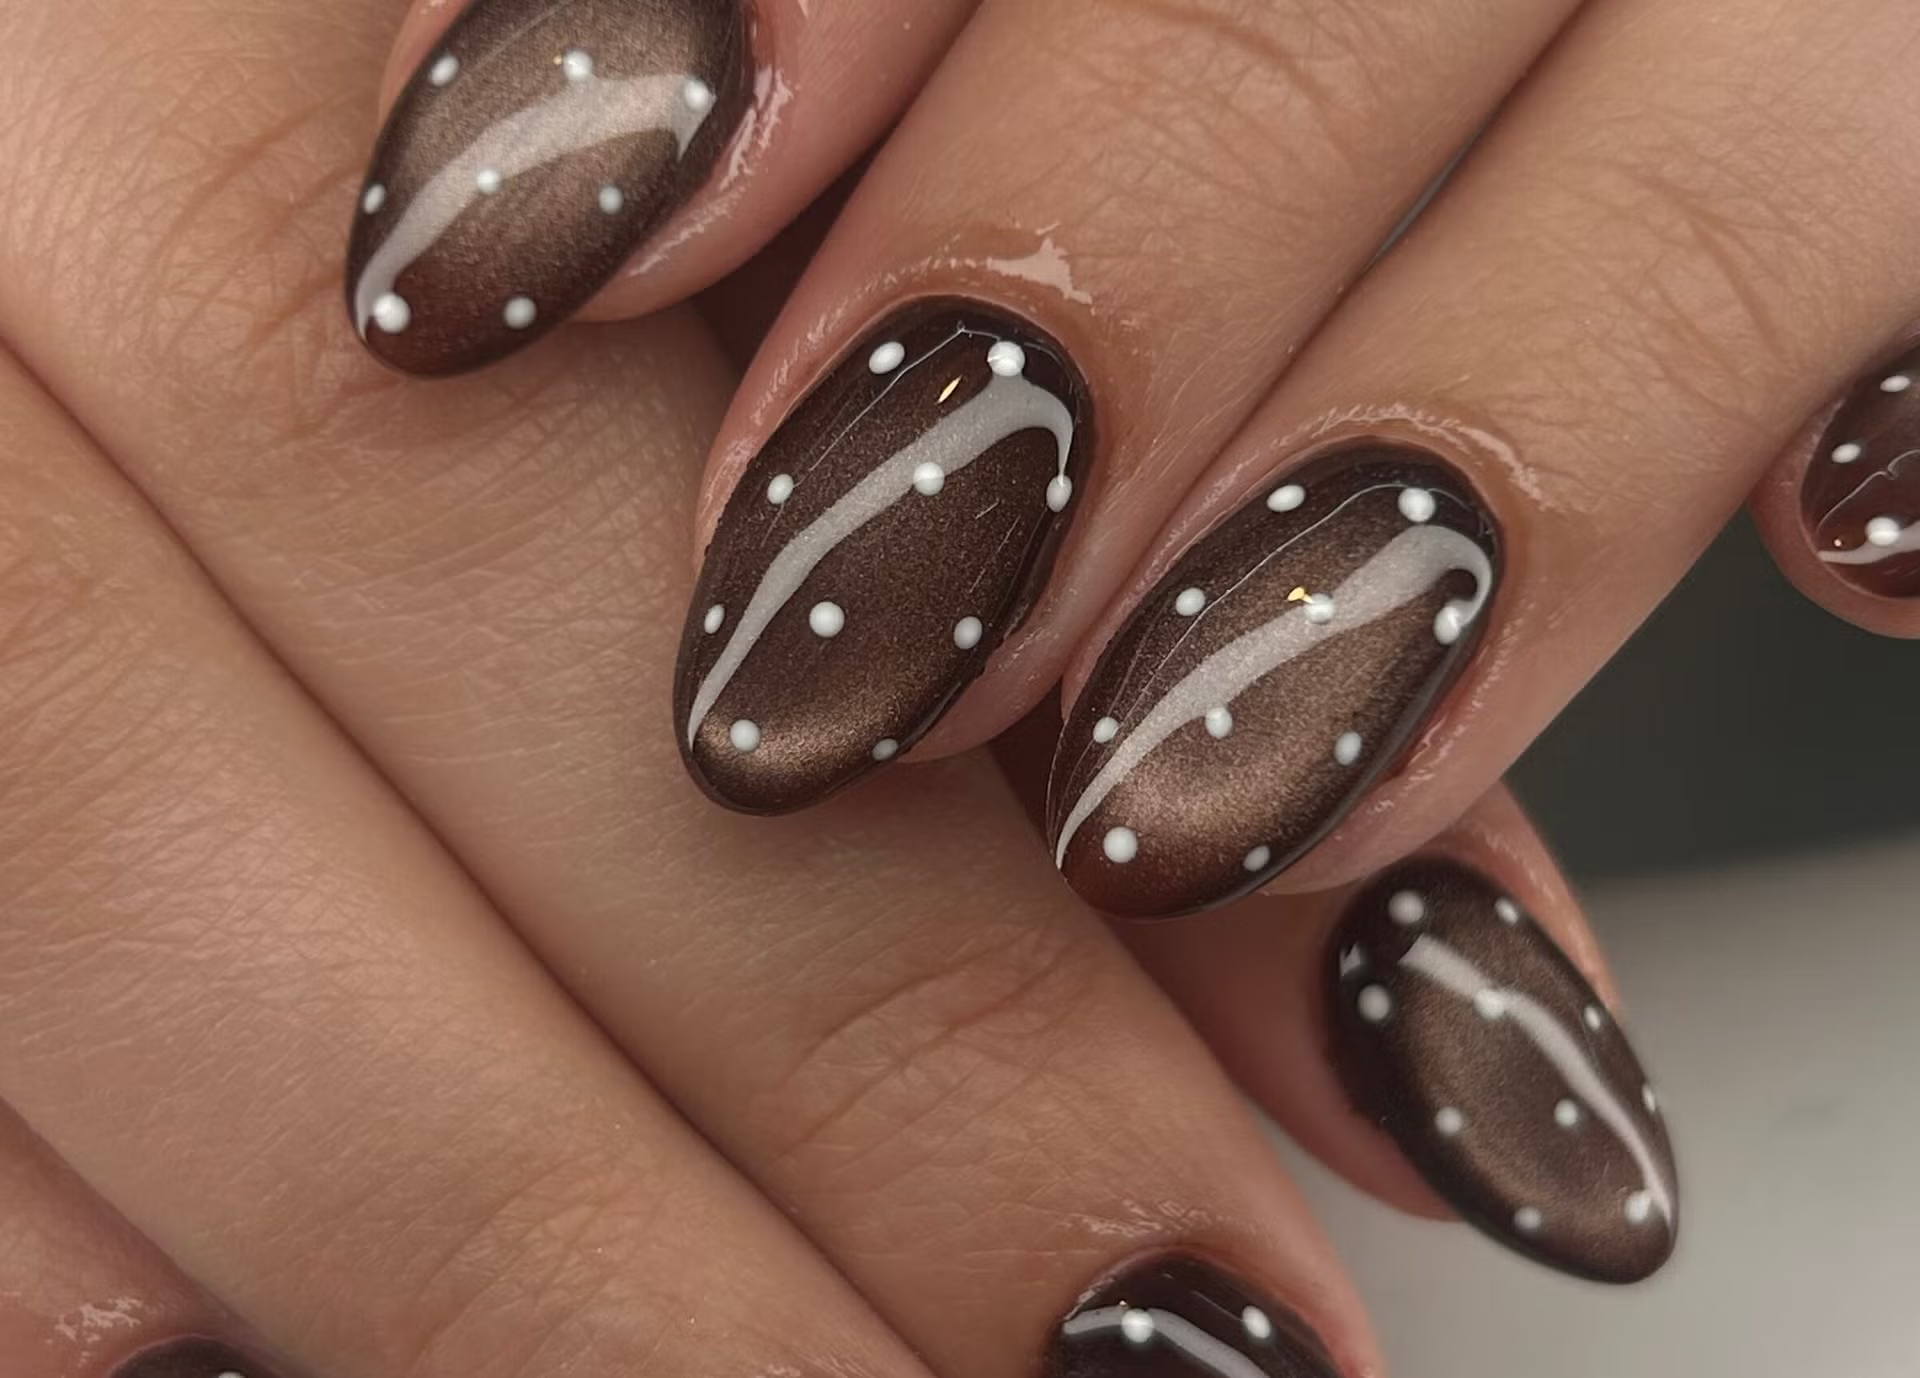
The design is exactly what the name promises: a magnetic cat eye base pulled into a soft velvet glow, then finished with small, deliberate dots in a contrasting shade.
The look matters in 2026 because it has moved from niche nail art into mainstream search. Pinterest recorded a rise of more than 1,500% in searches for the term, and salons have started keeping dotting tools beside the magnet. The reason is simple: a plain cat eye can look flat in photos, while the dots give it contrast, rhythm and a retro edge that reads instantly on a phone screen.
In this guide you’ll find what polka dot cat eye nails actually are, fifteen designs you can copy, the exact steps to build the look at home, and the one sentence that gets you the right result at the salon.
What Are Polka Dot Cat Eye Nails?
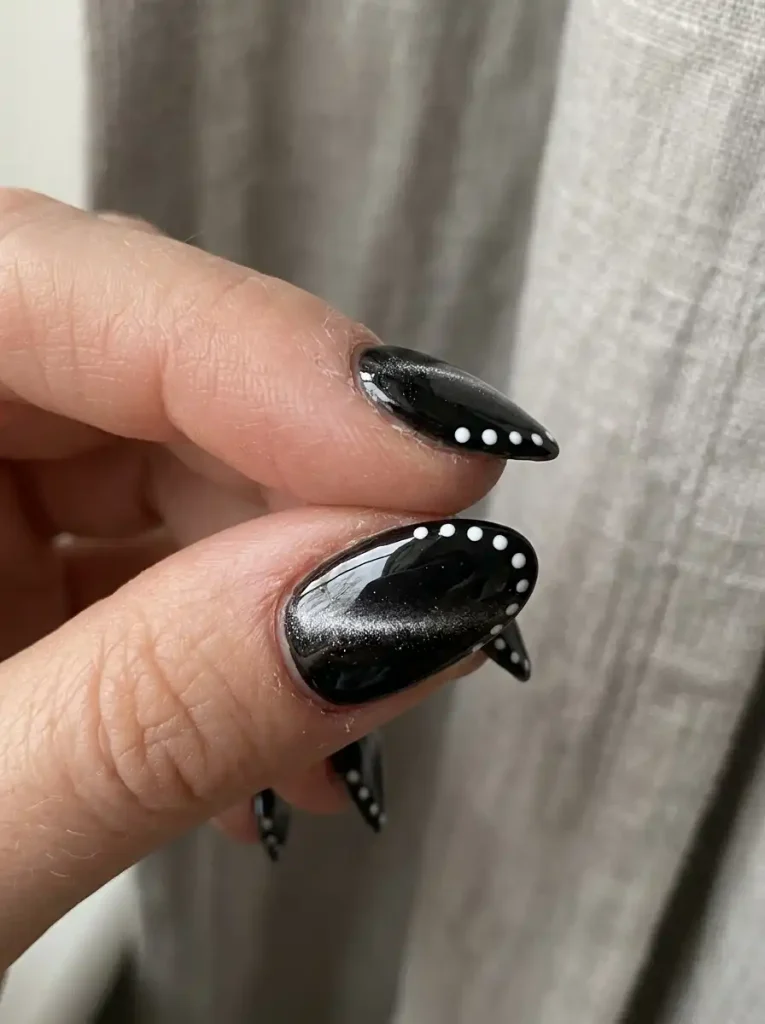
It is a two-layer manicure: a magnetic cat eye polish on the base, and hand-placed dots on top.
The base supplies depth and movement, the dots supply the contrast — which is why polka dot cat eye nails look more finished than either look alone. Together they read like velvet with a pattern pressed into it — at their best, these nails look expensive without looking busy.
How cat eye polish works
Cat eye polish contains tiny magnetic particles suspended in the formula.
- Apply the polish as normal.
- While it is still wet, hold a magnet above the nail for several seconds.
- The magnet pulls the particles into a concentrated band.
- The pattern locks in when the polish cures — UV/LED for gel, air-dry for lacquer.
Where you hold the magnet changes the result: close and vertical gives a sharp stripe, slightly further away gives the soft velvet diffusion this design usually relies on.
Why dots suit a velvet finish
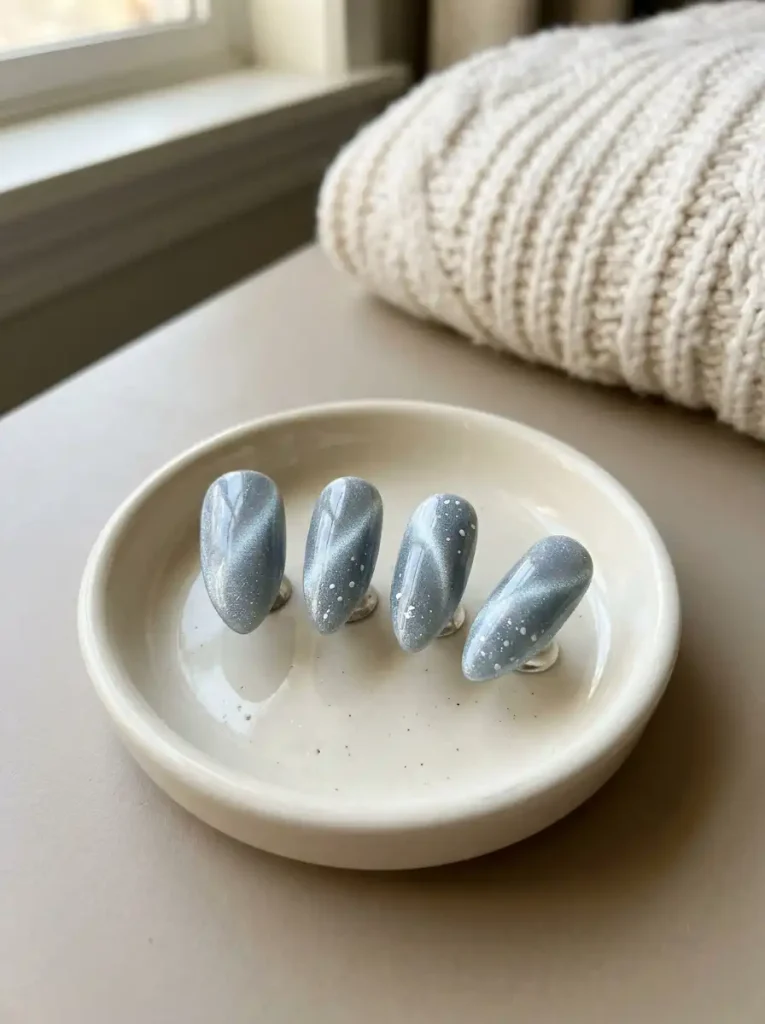
A velvet cat eye is soft and slightly blurred. Small opaque dots introduce hard edges against that softness. That contrast is why the manicure photographs so well — and why it stays visible under lighting that flattens a plain cat eye.
15 Polka Dot Cat Eye Nail Ideas to Copy
1. Black velvet + white dots. The reference version of the look. Jet black magnetic base, small crisp white dots, glossy top coat.
2. Monochrome pink. A soft pink cat eye with dots one shade deeper. The most wearable version for an office week.
3. Brown velvet + cream dots. Warm chocolate base, cream dots. This is the pairing driving most of the autumn 2026 searches, and it flatters every skin tone.
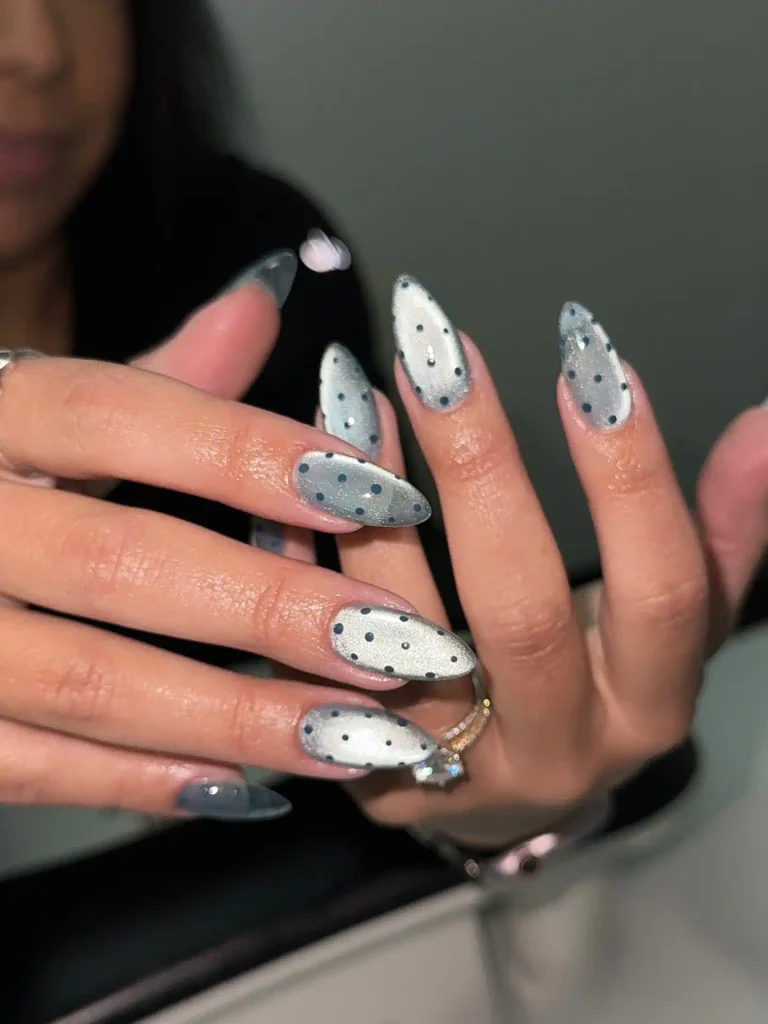
4. Silver + black dots. Sparkling silver base, black dots. An evening version that catches light without reading as glitter.
5. Navy galaxy. Deep navy velvet with metallic dots scattered at different sizes rather than in a grid.
6. Red velvet + red dots. Monochrome red, one shade apart. Strong on almond and coffin shapes.
7. Forest green + gold dots. A seasonal pair that reads as holiday without a single reindeer.
8. Milky white chrome + micro dots. The light version — pastel base, tiny dots, very clean.
9. Almond shape + diagonal dots. A diagonal line of dots from cuticle corner to free edge. Elongating and graphic.
10. Short square + micro dots. Short nail beds need fewer, smaller dots — five to seven per nail maximum, otherwise the design turns crowded.
11. Coffin shape + scattered dots. Dots on two accent nails only, the rest plain velvet. The restraint is the design.
12. French tip + dot line. A classic French tip with a single row of dots along the smile line — the easiest first attempt at the look.
13. Ombré velvet + gradient dots. Dots that grow in size from cuticle to tip, echoing the gradient beneath them.
14. Pearl dots on burgundy. Pearl studs instead of painted dots. Different texture, same idea, and they outlast polish.
15. Matte base + glossy dots. Matte the cat eye layer, then add glossy dots. Two finishes catching light differently make the design look almost three-dimensional.

How to Do Polka Dot Cat Eye Nails at Home
You can build it with a magnetic gel kit, or with a magnetic lacquer if you prefer no lamp. Gel gives a sharper effect and lasts longer.
What you need: base coat, magnetic cat eye polish, the magnet supplied with it, a dotting tool or toothpick, a contrasting polish for the dots, glossy top coat, and a UV/LED lamp for gel.
Step 1 — Prep. Push back cuticles, buff lightly, wipe with alcohol. Oily nail plates are the main reason a cat eye effect vanishes.
Step 2 — Base coat, then cure.
Step 3 — One thin layer of cat eye polish. Thin. A flooded layer stops the particles aligning and turns the effect muddy.
Step 4 — Do not cure yet. Hold the magnet two to three millimetres above the wet polish for five to ten seconds without touching it. Vertical and close for a sharp stripe; slightly higher for the velvet look.
Step 5 — Cure immediately, or let regular polish dry completely. The effect is set once cured.
Step 6 — Add the dots. With a dotting tool, place small dots of contrasting polish. Two rules: consistent dot size on each nail, and deliberate spacing — a neat line along the smile line or a loose scatter, never a random clump. Cure between layers if you’re using gel colour for the dots.
Step 7 — Top coat. Glossy top coat protects the dots and intensifies the velvet. Cap the free edge.
Clean-up: wrap a clean-up brush in acetone and correct the edges before curing. Dotting is far less forgiving once gel has set.
What to Ask For at the Salon
Say this, and bring one reference photo:
“A cat eye gel layer in [shade], with small contrasting polka dots, finished glossy. Can we keep the dots small and evenly spaced?”
Then confirm three details before she starts:
- Dot size — small dots read as dots; large ones read as blobs.
- Placement — scattered, along the smile line, or accent nail only.
- Finish — glossy sharpens the velvet, matte softens everything.
Ask to see the magnet hold before the top coat goes on. That single check is the difference between the look and a smudge.
Polka Dot Cat Eye by Colour
| Base | Dots | Look |
|---|---|---|
| Black | White | Classic retro |
| Pink | Deeper pink | Monochrome, wearable |
| Brown | Cream | Autumn, warm |
| Silver | Black | Evening |
| Navy | Metallic | Galaxy |
| Green | Gold | Holiday |
| Burgundy | Pearl | Elegant |
If you’re drawn to the metallic side of this table, the same technique shows up in chrome nails and in brown chrome nails, where the finish does the work without dots. Seasonal versions of the look live in spring nail ideas and fall nails, and colour-led versions in purple nail designs and nail polish colours.
How Long Do Polka Dot Cat Eye Nails Last?
Gel: two to three weeks. The cat eye effect does not fade — it is locked inside the cured layer.
Regular polish: four to seven days, and the effect dulls as the surface wears.
Aftercare: oil the cuticles daily, wear gloves for washing up, and keep acetone away from the nails between appointments.
Removal: soak in acetone for ten to fifteen minutes, then lift gently. Never peel gel — peeling removes a layer of the nail plate with it.
Troubleshooting: 5 Things That Go Wrong
The cat eye disappeared. This is the most common failure with polka dot cat eye nails. The magnet was too far away, held too long while the polish set, or the layer was too thick.
The effect looks muddy. Too much polish. Use a thinner layer and hold the magnet vertically.
The dots smudge under top coat. The dots weren’t dry. Float the top coat instead of dragging it.
It looks flat in photos. Add the dots — contrast is what makes velvet read on camera.
The nail lifts within days. Prep, not product. Dehydrate the plate with alcohol and cap the free edge on every layer.
FAQ
Are polka dot cat eye nails in style in 2026?
Yes. Pinterest’s 2026 beauty report recorded a rise of more than 1,500% in searches for the term, and the design is now offered in most salons that stock magnetic polish.
What’s the best colour for cat eye nails right now?
Warm neutrals lead: brown, caramel, mocha and soft copper. Black and deep navy remain the safest classics.
What should I avoid with cat eye nails?
Thick layers, holding the magnet too far from the nail, and applying top coat over wet dots. Avoid peeling gel polish off, which damages the nail plate.
Do polka dot cat eye nails work on short nails?
Yes. Use fewer and smaller dots — five to seven per nail — and consider accent nails only if the design feels crowded.
How many dots should one nail have?
Five to nine. Odd numbers look designed; even numbers tend to look accidental.
Is cat eye polish safe for an MRI?
Magnetic polish contains tiny metal particles, immobilised inside cured polish. Many clinics still ask you to remove gel before a scan, so check with your imaging centre in advance.
Final note
The design works because two simple steps were done properly: the magnet was held correctly, and the dots were placed on purpose. Neither takes long — both take ten seconds of patience.
Start with black and white. It teaches both techniques at once, and it is still the version people screenshot most — which is why black and white polka dot cat eye nails remain the reference design.
Read next:
- Cat eye nails: the complete guide
- Brown chrome nails
- Spring nail ideas 2026
- Almond nail shapes
- Coffin nails for short nails
- Short nail designs that prove less is more
- French manicure at home in 10 steps
- Purple nail designs
- Fall nail colours
- Nail care routine for long-lasting manicures
- Acrylic nail shapes explained
- Summer nail trends