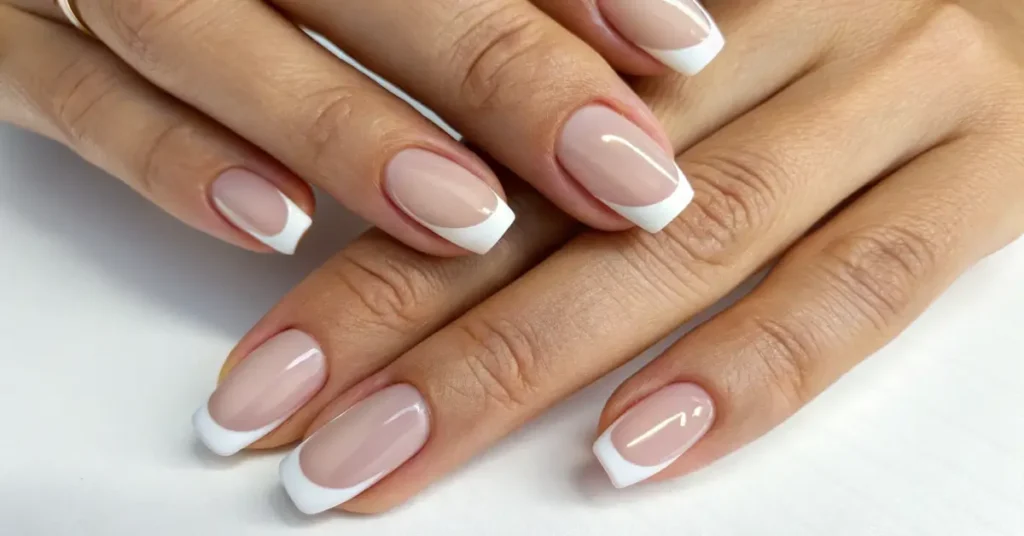
The French manicure remains the most timeless and elegant nail design, perfect for any occasion from job interviews to weddings. This classic look features a natural or nude base with crisp white tips, creating an effortlessly polished appearance that never goes out of style.
Whether you’re a complete beginner or looking to perfect your technique, this comprehensive guide will teach you everything you need to know about creating salon-quality French manicures at home.
What Is a French Manicure?
A French manicure is characterized by:
- A natural, nude, or clear base color
- Clean white tips painted across the nail’s free edge
- A glossy topcoat finish
- Well-groomed cuticles and nail shape
The style originated in 1970s Paris and became globally popular for its versatility and sophisticated appearance. Today’s French manicure has evolved to include colored tips, different base shades, and creative variations while maintaining its classic elegance.
Essential Tools and Supplies for French Manicure
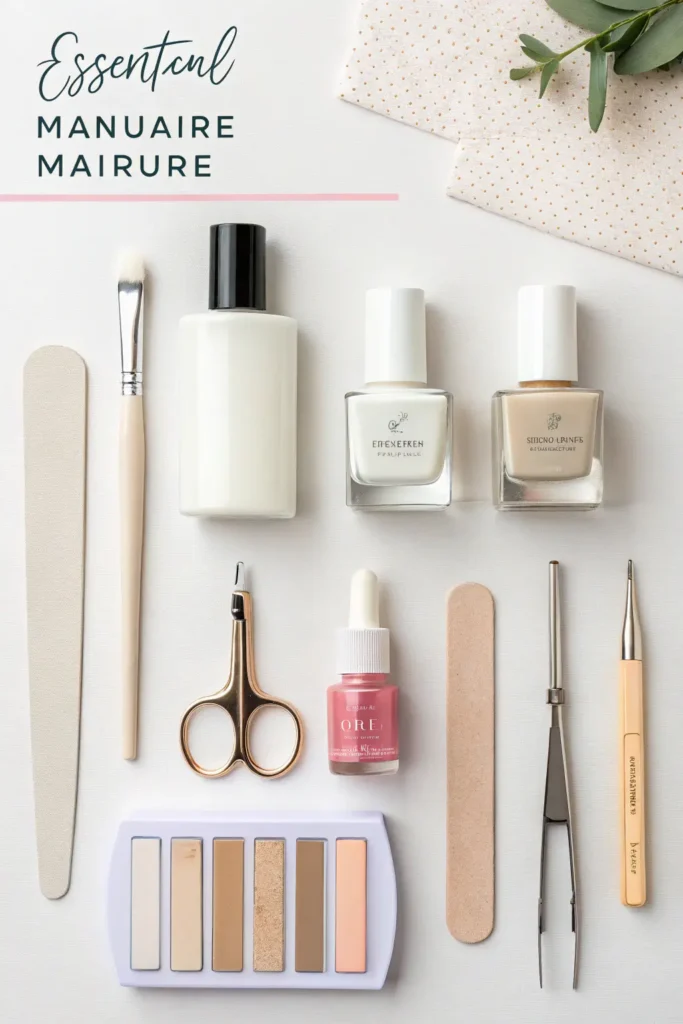
Basic Nail Care Tools:
- Nail file (180/240 grit recommended)
- Buffer block
- Cuticle pusher or orange stick
- Cuticle nippers (optional)
- Nail clippers
French Manicure Polishes:
- Base coat (strengthening formula preferred)
- Nude or sheer pink base color
- White polish for tips
- Clear topcoat (quick-dry recommended)
Application Tools:
- French manicure guides or stickers
- Thin nail art brush (size 0 or 00)
- Cleanup brush
- Cotton swabs
- Acetone or nail polish remover
Pro Tips for Supply Selection:
- Choose opaque white polish that covers in one coat
- Invest in quality base and topcoats for longevity
- Keep a small cleanup brush handy for perfect lines
Step-by-Step French Manicure Tutorial
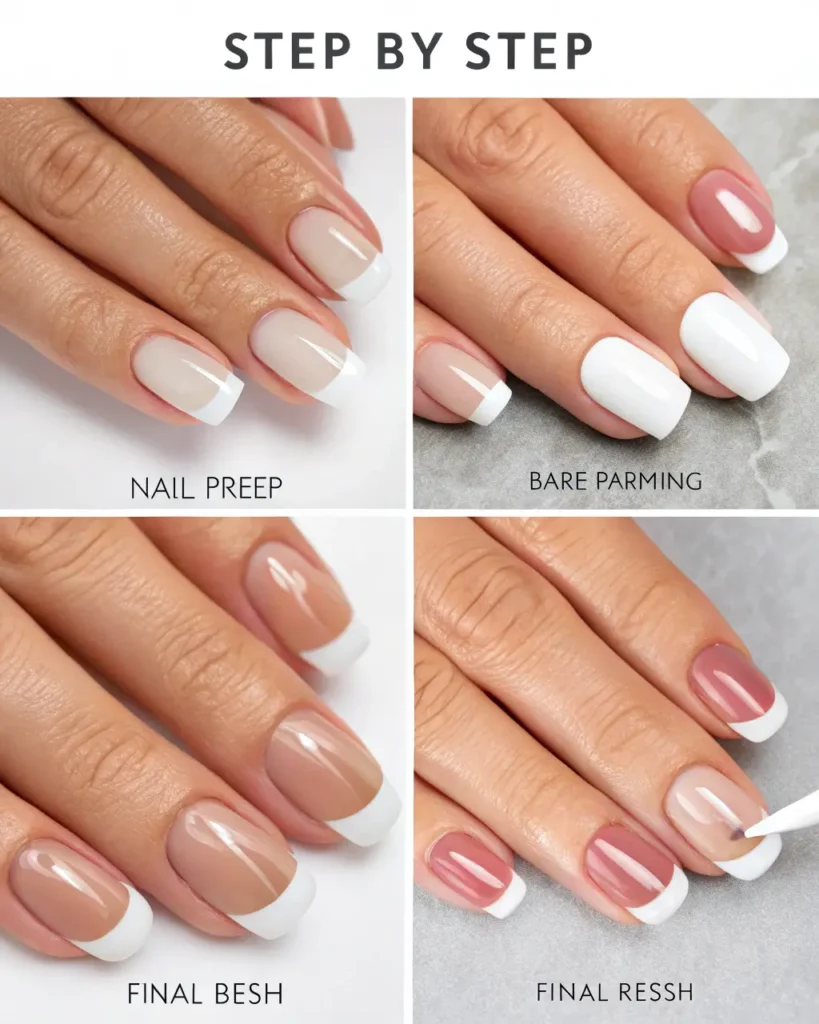
Step 1: Nail Preparation
Start with clean, dry nails. Remove any existing polish completely using acetone-free remover to avoid drying out your nails.
Shape your nails:
- File in one direction to prevent splitting
- Choose between square, round, or oval shapes
- Keep length moderate for best French manicure results
Cuticle care:
- Push back cuticles gently with a cuticle pusher
- Apply cuticle oil and massage briefly
- Trim only loose, dead skin with cuticle nippers
Step 2: Base Coat Application
Apply a thin, even layer of base coat to all nails. This crucial step:
- Protects nails from staining
- Helps polish adhere better
- Extends manicure longevity
Allow base coat to dry completely (2-3 minutes) before proceeding.
Step 3: Apply the Base Color
For Natural French Manicure: Apply one thin coat of nude or sheer pink polish. The color should enhance your natural nail tone while providing subtle coverage.
Application technique:
- Start with a thin stripe down the center of the nail
- Fill in sides with overlapping strokes
- Avoid thick application that causes bubbling
- Let dry for 3-4 minutes between coats if second coat needed
Step 4: Create the White Tips
This is the most critical step for professional-looking results.
Method 1: Using French Manicure Guides
- Apply guides ⅓ from the nail tip
- Ensure guides are firmly pressed down
- Paint white polish over exposed tip area
- Remove guides immediately while polish is wet
Method 2: Freehand Technique
- Load brush with white polish (not too much)
- Start from one corner of the nail tip
- Draw a curved line following your nail’s natural shape
- Fill in the tip area with smooth strokes
- Clean up any mistakes with a small brush dipped in remover
Pro tip: Practice the curved motion on paper first to build muscle memory.
Step 5: Perfect the Tip Line
The hallmark of a great French manicure is the clean, even tip line.
For symmetrical tips:
- Check that all tip widths are consistent
- The curve should follow your nail’s natural shape
- Tips should be no more than ⅓ of your total nail length
Cleanup technique:
- Use a thin brush dipped in acetone
- Gently trace the tip line to sharpen edges
- Clean up any smudges on the nail bed
Step 6: Apply Topcoat
Once white tips are completely dry (5-6 minutes), apply topcoat:
- Use thin, even strokes covering the entire nail
- Pay special attention to tip edges for chip prevention
- Allow 10-15 minutes for complete drying
French Manicure Variations to Try
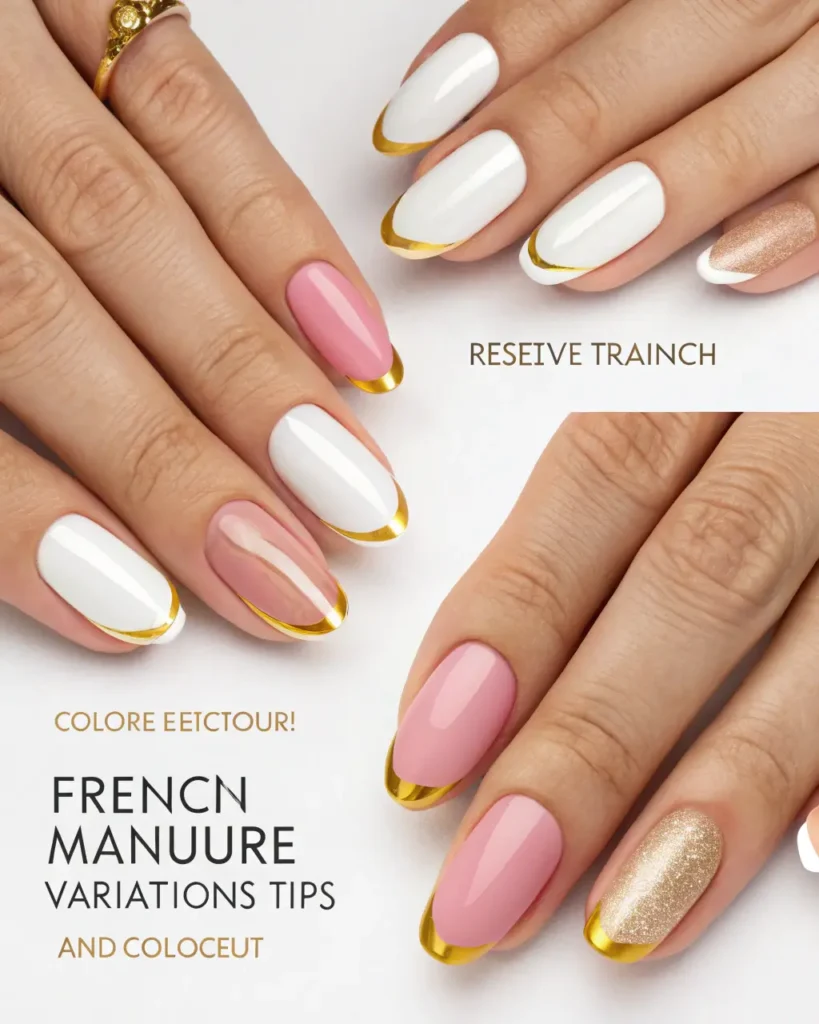
Colored French Tips
Replace white with:
- Soft pastels for spring
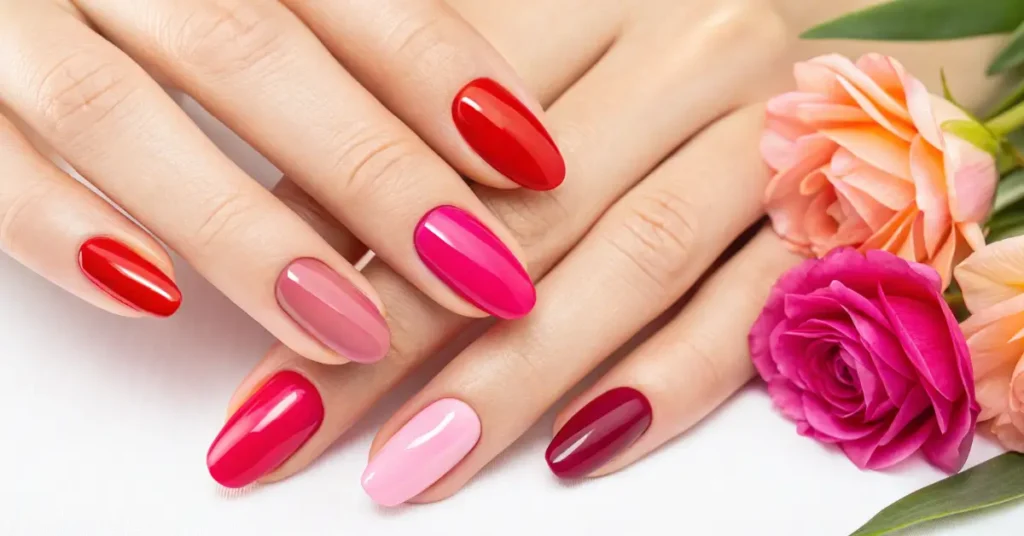
- Bold colors for statement looks
- Metallic shades for special occasions
Reverse French Manicure
- Apply color at the cuticle area instead of tips
- Keep tips natural or nude
- Creates a modern, edgy look
Double French
- Create two tip lines instead of one
- Use complementary colors
- Perfect for special events
Glitter French
- Add glitter topcoat over white tips
- Mix glitter into white polish
- Great for holiday seasons
Common French Manicure Mistakes to Avoid
Uneven tip thickness: Practice maintaining consistent pressure and polish amount on your brush.
Wobbly lines: Go slowly and steady your hand by resting your elbow on a table.
Tips too thick: Multiple thin coats look better than one thick application.
Skipping base coat: This leads to staining and poor polish adhesion.
Rushing the drying process: Each layer needs adequate drying time for best results.
How to Make Your French Manicure Last Longer
Preparation is key:
- Properly clean and prep nails
- Use quality base and topcoats
- Apply thin, even layers
Maintenance tips:
- Wear gloves for cleaning and gardening
- Apply cuticle oil daily
- Touch up chips immediately
- Reapply topcoat every 3-4 days
Expected longevity:
- Regular polish: 5-7 days
- Gel polish: 2-3 weeks
- With proper care: Up to 10 days for regular polish
French Manicure for Different Nail Shapes
Short nails: Keep tips thin and follow natural nail curve closely.
Long nails: Can handle wider tips and more dramatic curves.
Square nails: Create straight-across tips with slightly rounded corners.
Round nails: Follow the natural curved shape for most flattering results.
Almond nails: Taper tips to follow the pointed shape.
Professional vs. DIY French Manicure
DIY advantages:
- Cost-effective (under $20 for supplies)
- Convenience of home application
- Practice improves technique over time
When to choose professional:
- Special occasions requiring perfection
- If you have difficulty with steady hands
- For gel applications requiring UV light
Cost comparison:
- DIY: $2-3 per manicure after initial investment
- Salon: $25-50 per appointment
Troubleshooting French Manicure Problems
Smudged tips: Always allow adequate drying time between coats. Use quick-dry topcoat for faster results.
Uneven application: Practice on fake nails first. Use guides until you master freehand technique.
Polish won’t stick: Ensure nails are completely clean and dry. Use a dehydrating base coat.
Tips chip quickly: File tips smooth and seal edges with topcoat. Avoid using nails as tools.
French Manicure Trends for 2025
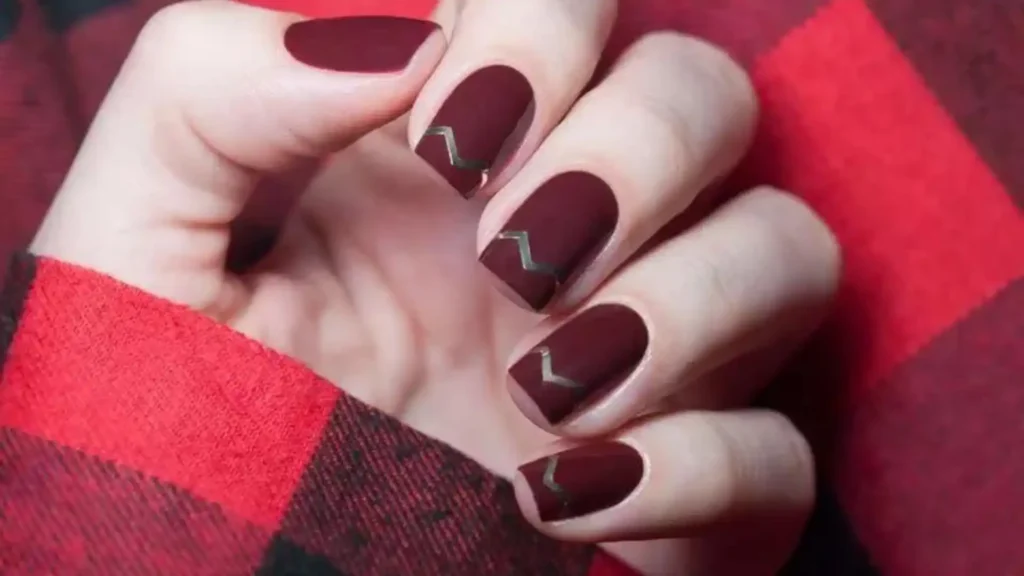
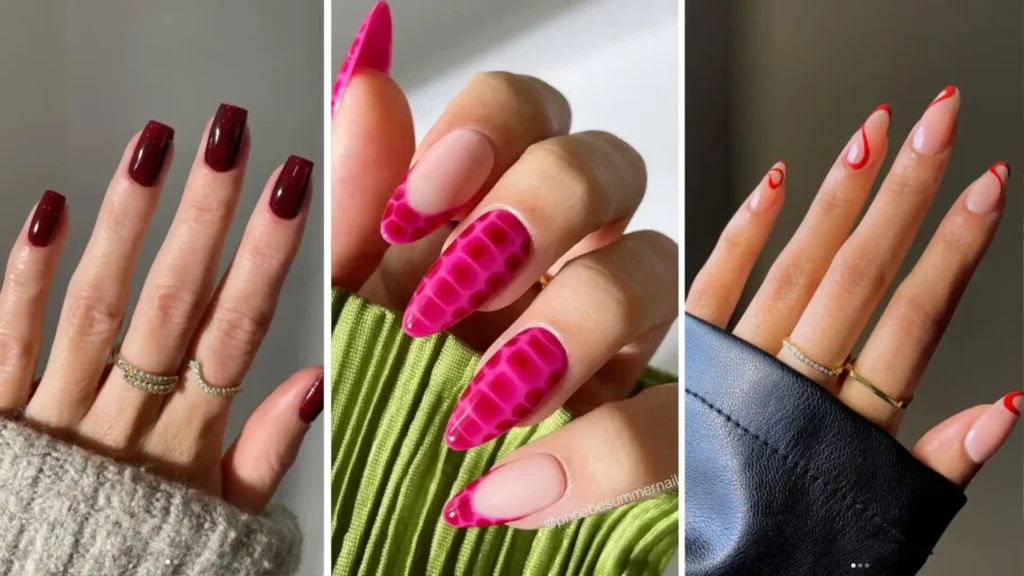
Minimalist approach: Ultra-thin tips with sheer bases Colorful variations: Neon tips for summer, jewel tones for fall Textured finishes: Matte topcoats and subtle shimmer Nail art combinations: Adding small accents while keeping the classic French base
Frequently Asked Questions
How long does a French manicure take? Expect 45-60 minutes for your first attempt, reducing to 30 minutes with practice.
Can I do French manicure on short nails? Absolutely! Keep tips proportionally thin and follow the natural nail curve.
What’s the best white polish for French tips? Look for opaque, quick-drying formulas. Popular choices include OPI Alpine Snow and Essie Blanc.
How do I fix a mistake without starting over? Use a small brush dipped in acetone to clean up errors. Let dry completely before applying topcoat.
Conclusion
Mastering the French manicure takes practice, but the results are worth the effort. This timeless look works for every age, occasion, and personal style. Start with basic techniques and gradually experiment with colors and variations as your skills improve.
Remember, the key to a perfect French manicure lies in preparation, patience, and practice. Take your time with each step, and don’t be discouraged if your first attempts aren’t perfect. Even professional nail technicians needed practice to achieve consistent results.
With the right tools, techniques, and patience, you can create salon-quality French manicures at home while saving money and time. Whether you prefer the classic white-tip look or want to experiment with modern variations, the French manicure remains one of the most elegant and versatile nail styles available.
Ready to perfect your French manicure technique? Start with quality supplies and follow these step-by-step instructions for professional results every time.
Discover more trends:
Follow us on: Pinterest | Facebook

