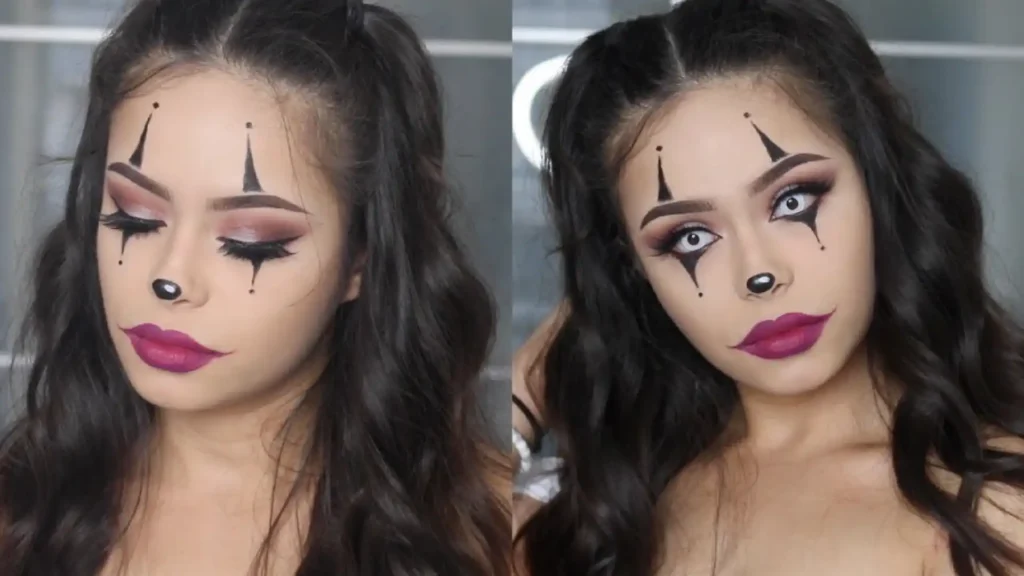
Whether you’re prepping for Halloween, a themed party, or just trying something new with your makeup skills, there’s no denying the charm and whimsy of clown makeup. Despite its seemingly intricate appearance, creating an impressive clown face doesn’t require a professional’s touch. In fact, with the right tools and a bit of guidance, anyone can master this art. This clown makeup tutorial is not only easy to follow but also fun and creative, allowing you to express your inner performer without the hassle.
So, are you ready to transform your face into a colorful canvas? Let’s dive into this simple guide that’ll have you looking like a pro clown in no time!
The Basics of Clown Makeup: What You Need to Get Started
Essential Tools and Products
Before diving into the tutorial, it’s important to gather all the necessary tools and products. The good news is, you don’t need a suitcase full of fancy cosmetics. Most of the items can be found in your regular makeup kit or easily purchased at a drugstore.
- Face Primer: To ensure your makeup stays put.
- White Face Paint: The base of any clown makeup.
- Colorful Eyeshadows: Bright colors are key to that vibrant clown look.
- Black Eyeliner: Essential for detailing and defining the makeup.
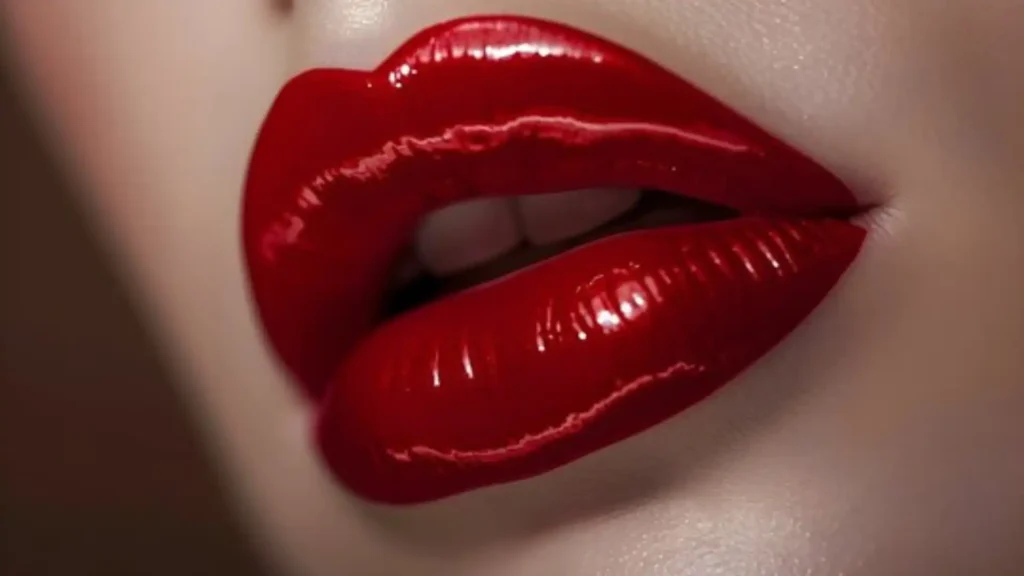
- Red Lipstick or Face Paint: For the iconic clown nose and mouth.
- Sponges and Brushes: For smooth application.
- Setting Spray or Powder: To keep your makeup in place.
Prepping Your Skin
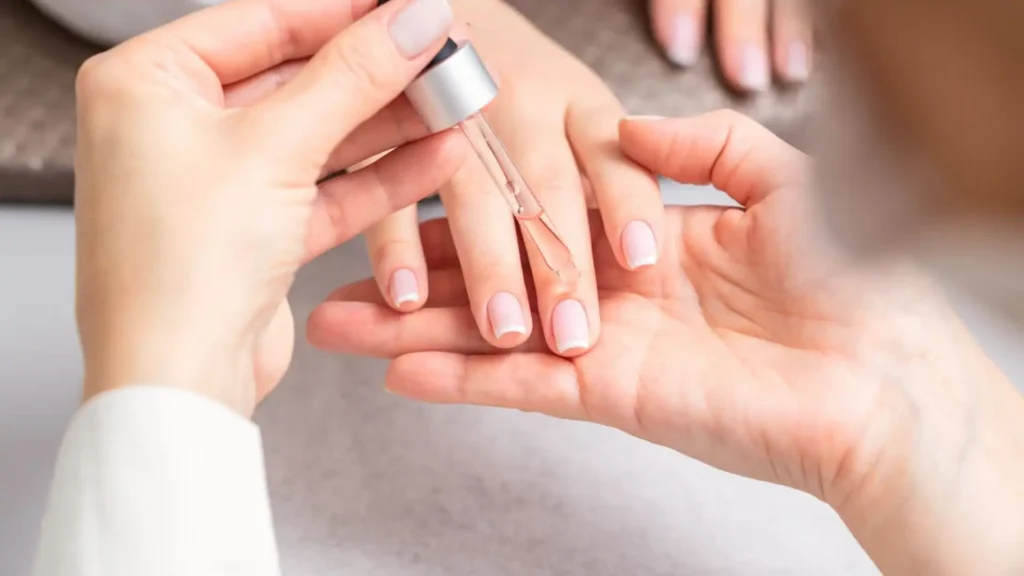
Before you even think about applying any clown makeup, you need to prepare your skin. Just like any other makeup look, starting with a clean, moisturized face is crucial. This not only helps the makeup adhere better but also ensures it stays fresh and vibrant for longer.
- Cleanse: Use a gentle cleanser to remove any dirt and oil.
- Moisturize: Apply a hydrating moisturizer to keep your skin from drying out under the makeup.
- Prime: A good face primer will create a smooth surface and help the makeup last longer.
Choosing Your Clown Persona
Not all clowns are created equal! Are you going for a cute, playful look, or are you aiming for something a bit more sinister? Deciding on your clown persona will guide your color choices and the overall design. Traditional clowns often feature bold primary colors, while more modern or creepy clowns might incorporate darker tones and sharp lines.
Step-by-Step Clown Makeup Tutorial: A Foolproof Guide
Applying the Base: The Foundation of Your Clown Look
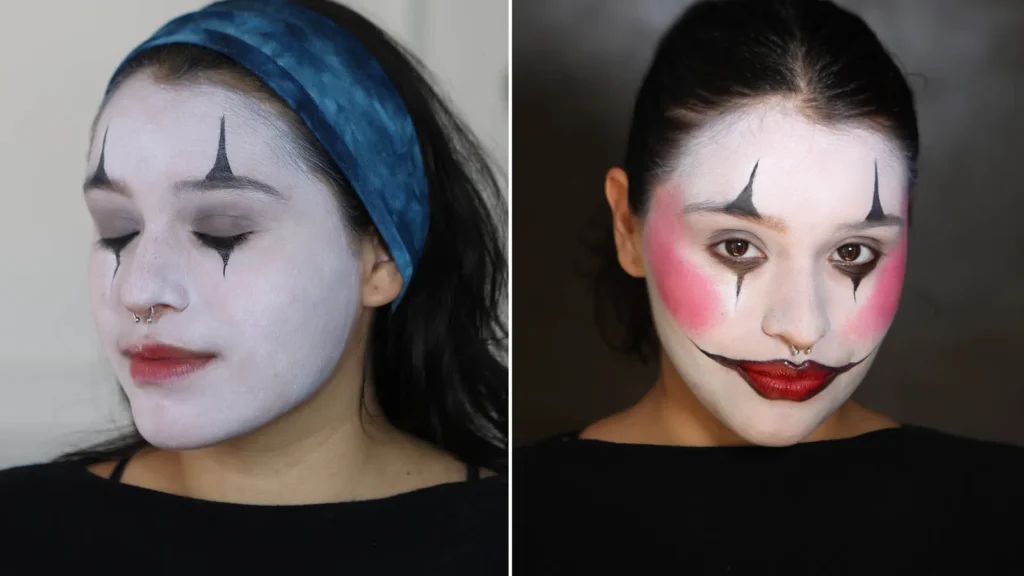
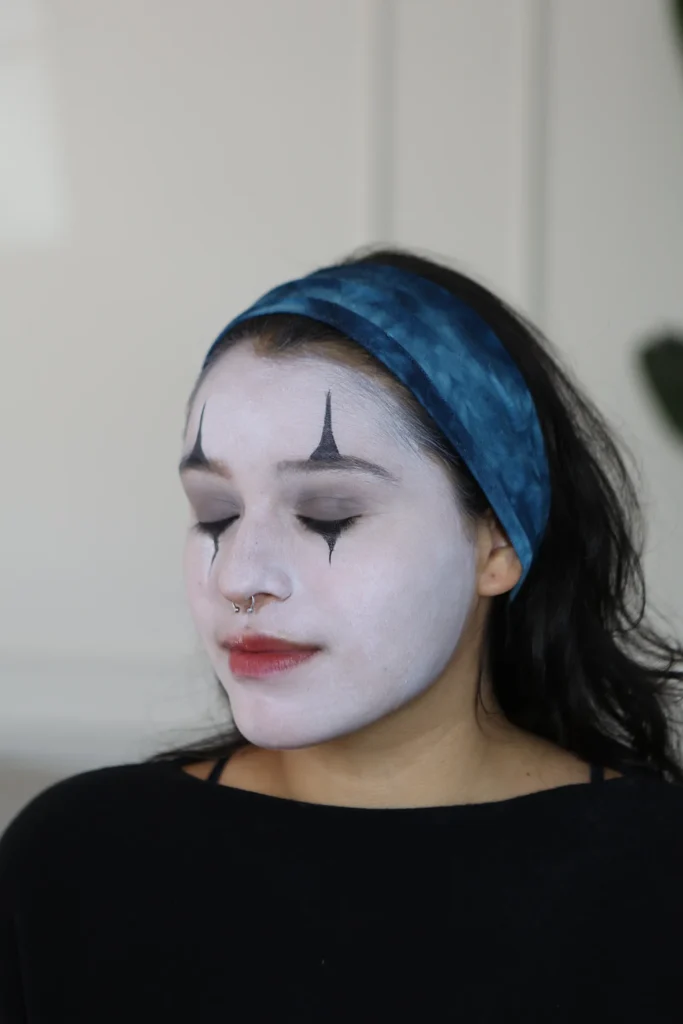
The first step in any clown makeup tutorial is applying the base. The classic clown face is a stark white, but feel free to adjust the intensity to suit your style.
- Apply the White Face Paint: Using a sponge or brush, apply the white face paint evenly across your face. Start from the center and blend outwards to avoid harsh lines. For a more opaque look, apply a second layer.
- Set the Base: Once the paint is dry, set it with a translucent powder. This will prevent the makeup from smudging and give it a matte finish.
Pro Tip: Don’t Forget the Neck and Ears
To keep your look cohesive, don’t neglect your neck and ears. These areas should match the tone of your face to maintain the illusion.
Creating the Clown Eyes: Adding Color and Character
Your eyes are the windows to your clown soul, so let’s make them pop!
- Outline the Eyes: Using a black eyeliner, draw exaggerated circles around your eyes. These can be as big or small as you like, depending on the look you’re going for.
- Fill in the Color: Inside the black outline, apply a bright eyeshadow. Red, blue, and yellow are classic choices, but don’t be afraid to experiment with different colors.
- Add Some Drama: To make your eyes stand out even more, use the eyeliner to add fake eyelashes or tear drops beneath your eyes.
Subtle Variations for Different Styles
- Cute Clown: Use softer, pastel colors and keep the lines rounded and soft.
- Creepy Clown: Opt for darker shades and sharper lines. You can even add a few cracks or smudges for that extra eerie effect.
Perfecting the Clown Mouth: From Smile to Grimace
The mouth is arguably the most important feature in clown makeup. It’s where the personality of your clown really comes to life.
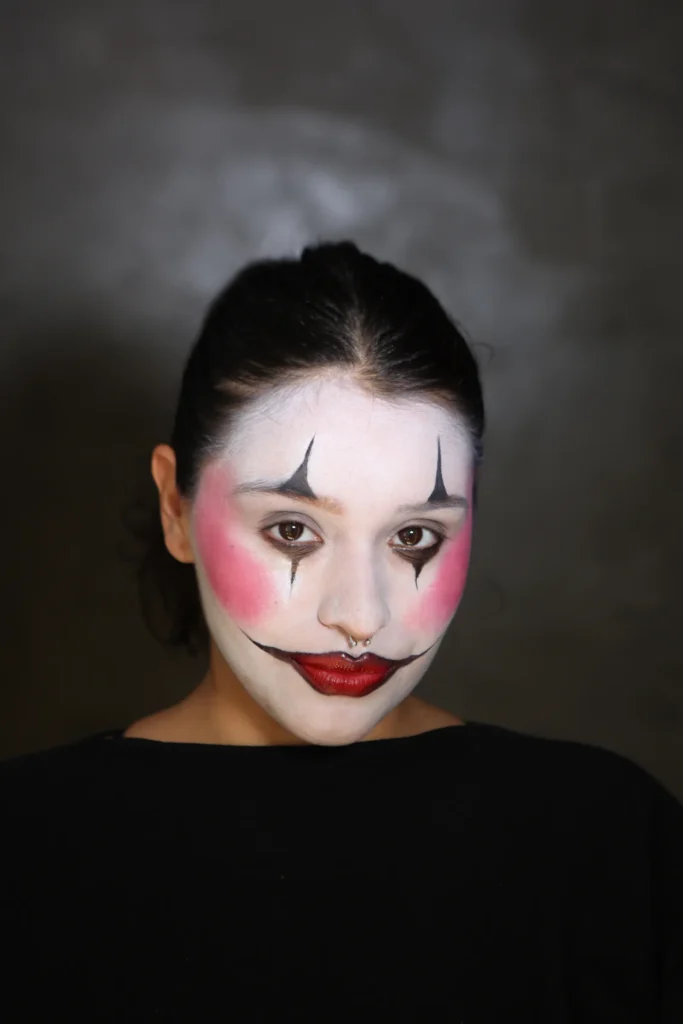
- Outline the Mouth: Using the black eyeliner, draw an exaggerated smile or frown, extending the corners well past your natural lip line.
- Fill in with Red: Use a red lipstick or face paint to color the inside of the outline. For a more traditional look, keep the lips bright and clean. For a creepier vibe, you can smudge the edges or add a drip effect.
- Detailing: Add some final touches like dimples, or extend the smile lines upwards to mimic the look of a puppet or marionette.
Final Touches: Bringing Your Clown Makeup to Life
The Iconic Clown Nose
No clown is complete without a bright red nose! You can either paint one directly onto your face or opt for a foam nose that you can wear over your own. If you choose to paint it on, simply use the red face paint and draw a small circle on the tip of your nose. Make sure it’s bold and bright!
Adding the Extras: Freckles, Stars, and Glitter
Now that the basics are done, it’s time to get creative with some extras. Here are a few ideas to make your clown makeup uniquely yours:
- Freckles: Using a small brush and some brown face paint, dot tiny freckles across your cheeks and nose.
- Stars and Hearts: Add playful shapes on your cheeks or around your eyes with different colored paints.
- Glitter: Apply glitter to your cheekbones, eyelids, or even over your entire face for a sparkling finish.
Sealing the Deal: Setting Your Clown Makeup
After all that hard work, you don’t want your makeup to fade away before the night is over. Use a setting spray or powder to lock in the look. Spray lightly over your entire face or dust with powder to keep everything in place.
FAQs About Clown Makeup
1. How long does it take to apply clown makeup?
It generally takes about 30 minutes to an hour, depending on the complexity of your design and your experience level. With practice, you’ll be able to cut down the time significantly.
2. What if I have sensitive skin?
If you have sensitive skin, opt for hypoallergenic or non-toxic face paints. Always do a patch test 24 hours before applying the makeup to your entire face.
3. Can I use regular makeup for my clown look?
Yes, you can use regular makeup, especially if you’re going for a less traditional clown look. However, face paints are recommended for a more classic and long-lasting appearance.
4. How do I remove clown makeup?
Removing clown makeup is simple: use an oil-based cleanser or makeup remover to break down the paint, and follow up with a gentle cleanser to wash away any residue. Moisturize your skin afterward to keep it hydrated.
5. Can I customize the clown look?
Absolutely! Feel free to get creative with colors, shapes, and designs. Clown makeup is all about expressing your individuality, so there are no strict rules.
Conclusion
Creating a clown makeup look doesn’t have to be intimidating or time-consuming. With this easy-to-follow tutorial, you’re well on your way to mastering the art of clown makeup. Whether you’re aiming for something whimsical, traditional, or downright spooky, the possibilities are endless. Remember to have fun with it, and let your creativity shine through.
So, what are you waiting for? Grab your brushes, paints, and let your inner clown come to life!
Discover more trends:
Follow us on: 📌 Pinterest | 📘 Facebook

