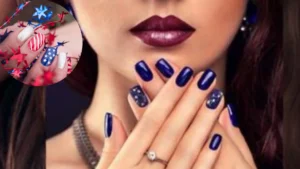


Nail care is often seen as one of those simple, mundane tasks—something you can do while marathoning your favorite show or during a quick self-care session. But here’s the kicker: there’s actually a correct way to file your nails. nail shapes
Whether you’re striving for the perfect almond shape, a chic square, or an elegant oval, the way you handle your nail file can make or break your look (literally).
You might be thinking, “How hard can it be?” But, as it turns out, the nuances of nail filing can dramatically impact the health and appearance of your nails.
In this article, we’ll dive into the right way to file your nails, ensuring you keep them looking flawless while preventing breakage, uneven edges, and other common nail mishaps. We’ll also explore different nail shapes, the tools you’ll need, and some frequently asked questions about nail care. So, let’s get filing!
The Essentials of Nail Filing: Tools and Preparation
The Right Tools for the Job
Before you start filing away, it’s crucial to have the right tools in your arsenal. Think of it this way: you wouldn’t paint a masterpiece with a broken brush, right? The same goes for filing your nails.
- Nail Clippers: Start by trimming your nails with a pair of high-quality clippers. Straight-blade clippers are ideal because they allow you to create a clean, even edge, which is essential for shaping.
- Nail File: When it comes to nail files, grit matters. A 180-grit file is perfect for shaping natural nails, while a finer 400-600-grit file is best for smoothing and finishing.
- Nail Buffer: Buffers help you achieve a polished, smooth finish. They’re great for evening out any rough spots and giving your nails a healthy shine.
Preparing Your Nails
Preparation is key. Don’t just dive in with a file and start sawing away. Here’s a step-by-step guide to ensure your nails are ready for the perfect shape:
- Wash Your Hands: Clean nails are easier to file and shape. Plus, washing your hands helps soften the nails, making them less prone to splitting.
- Trim Excess Length: If your nails are on the longer side, start by trimming them down to your desired length. Remember, it’s easier to file shorter nails, and trimming reduces the risk of accidental breakage during filing.
- Soak and Dry: Soaking your nails in warm water for a few minutes softens them up, making filing easier. Just make sure to dry them thoroughly before you begin to avoid any slipping or uneven filing.
The Correct Way to File Your Nails: Techniques and Tips
Understanding Nail Shapes and How to Achieve Them
When it comes to nail shapes, one size certainly doesn’t fit all. The shape you choose can reflect your style and even your lifestyle. Here’s a quick rundown of some popular nail shapes and how to file them correctly:
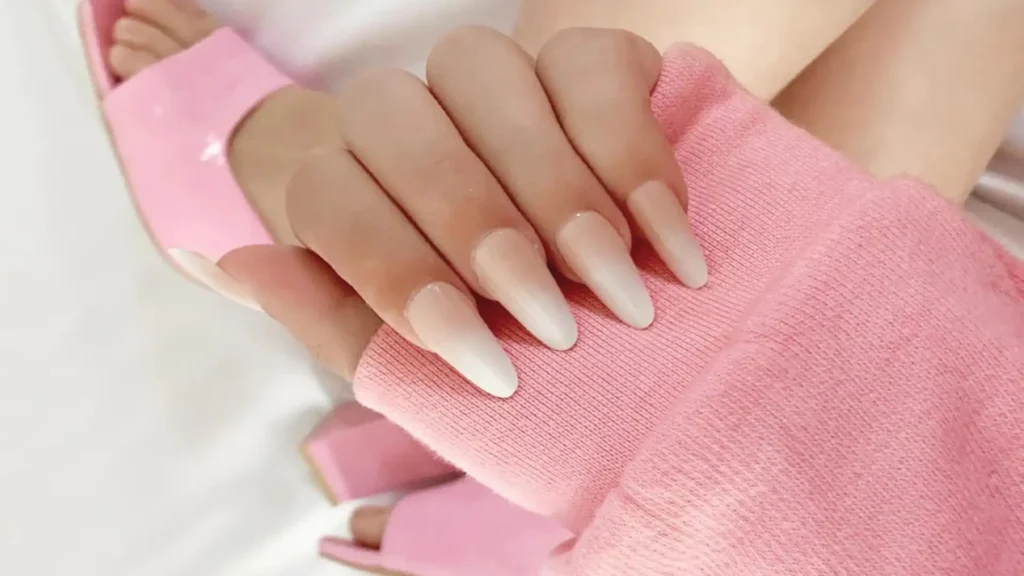
- Almond: Elegant and elongated, the almond shape narrows at the sides and rounds at the tip. To achieve this, start filing from the sides towards the center, creating a subtle point.
- Square: The square shape is all about straight edges and sharp corners. File straight across the top, and then smooth out the corners slightly to avoid snagging.
- Oval: A classic and universally flattering shape, the oval nail follows the natural curve of your fingertip. To create this shape, file in an arc, starting from the sides and moving towards the center in a smooth, continuous motion.
The Proper Filing Technique
Now that you’ve got your tools and your desired shape in mind, it’s time to get filing. But remember, the technique you use is crucial. Here’s how to file your nails the right way:
- Hold the File Correctly: Grip your nail file at a slight angle. Holding it flat against the nail can lead to over-filing and weaken your nails.
- File in One Direction: One of the biggest mistakes people make is filing back and forth like they’re sawing wood. This can cause your nails to split and weaken over time. Instead, file in one direction—start from the side of the nail and move towards the center.
- Take It Slow: Patience is key. Use gentle, light strokes rather than heavy, aggressive ones. This will help you maintain control and prevent over-filing.
Refining and Finishing
After you’ve shaped your nails, it’s time to refine and finish them. This step is all about smoothing out any rough edges and perfecting the shape.
- Use a Fine Grit File: After you’ve achieved your desired shape, go over your nails with a finer grit file (400-600 grit). This will smooth out any rough edges and give your nails a more polished look.
- Buff the Nail Surface: Buffing the surface of your nails helps to remove any small imperfections and adds a healthy shine. Be careful not to over-buff, as this can thin out your nails.
Common Nail Filing Mistakes to Avoid
Filing Back and Forth
It’s tempting to file your nails quickly by moving the file back and forth, but resist the urge. This technique can cause the nail layers to separate, leading to splitting and breakage. Always file in one direction to maintain nail integrity.
Using the Wrong Grit
Not all nail files are created equal. Using a file with too rough a grit on natural nails can be disastrous. It’s best to stick with a 180-grit file for shaping and a finer grit for smoothing. Reserve the coarser files for artificial nails or extensions.
Ignoring the Free Edge
The free edge of your nail, the part that extends past your fingertip, needs some TLC too. After filing, there may be tiny fragments or rough edges left behind. Use a buffer to gently smooth the underside of your nails, ensuring there are no rough bits that could snag.
FAQs About Nail Filing
1. How often should I file my nails?
This depends on how quickly your nails grow and the nail shape you prefer. As a general rule, filing once a week should be enough to maintain your shape and prevent any snags.
2. Can I file my nails if they’re wet?
It’s best to file your nails when they’re dry. Wet nails are more susceptible to splitting and tearing. If you’ve soaked your nails to soften them, make sure they’re completely dry before you start filing.
3. Is it bad to file my nails every day?
Filing your nails every day isn’t necessary and can weaken them. Over-filing can thin out the nails, making them more prone to breakage. Stick to weekly maintenance for best results.
Conclusion
Filing your nails might seem like a straightforward task, but doing it correctly can make a world of difference in the health and appearance of your nails. By choosing the right tools, using the proper technique, and avoiding common mistakes, you can maintain your desired nail shapes and keep your nails strong and beautiful. Whether you’re a fan of the almond shape, a chic square, or something in between, mastering the art of nail filing is key to achieving the perfect at-home manicure.
Remember, practice makes perfect. The more you refine your technique, the better your results will be. So, take your time, be gentle, and enjoy the process—your nails will thank you for it!
Discover more nail trends:
- Perfecting Your Gel Polish Manicure: A Comprehensive Guide
- 15 Creative 3D Nail Designs to Spark Your Next Manicure
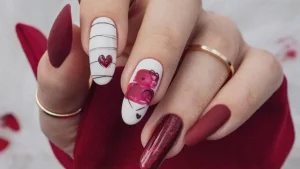
- 10 Adorable and Simple Valentine’s Day Nail Designs
- Follow us on Facebook