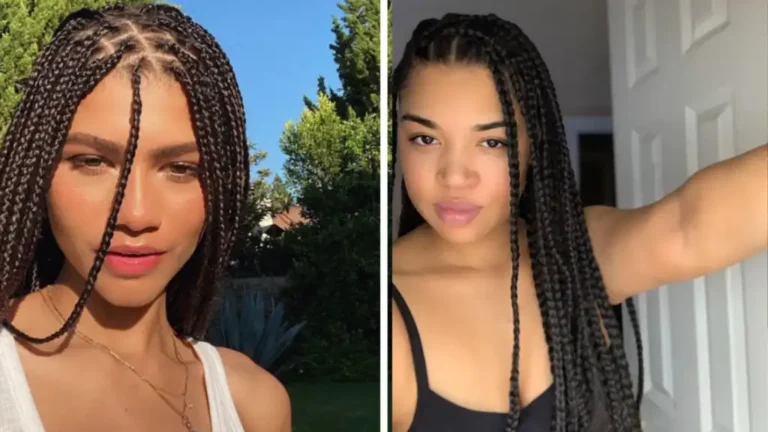

How to Cut Curly Hair at Home (Without Ruining It)
If you have ever wondered how to cut curly hair at home without ruining your curls, you are not alone. Millions of curly girls search for exactly this every month — and the good news is, it is completely possible with the right tools and technique. Knowing how to cut curly hair at home gives…
If you have ever wondered how to cut curly hair at home without ruining your curls, you are not alone. Millions of curly girls search for exactly this every month — and the good news is, it is completely possible with the right tools and technique.
Knowing how to cut curly hair at home gives you control between salon visits, saves money, and keeps your ends healthy all year round. Celebrity hairstylist Lorraine Massey, founder of the Curly Girl Method, puts it best: “Giving yourself a trim in between professional cuts can help maintain your style for a longer period of time.”
In this guide, you will learn exactly how to cut curly hair at home — step by step, for every curl type from 2A to 4C. For more curly hair inspiration, explore our hairstyles for curly hair guide.
Before You Learn How to Cut Curly Hair at Home — Know Your Curl Type

The first step when learning how to cut curly hair at home is identifying your curl pattern. Every curl type needs a different approach — what works for loose waves can completely ruin tight coils.
| Curl Type | Description | Best Method |
|---|---|---|
| 2A / 2B | Loose, S-shaped waves | Wet cutting |
| 2C / 3A | Defined waves, springy curls | Dry cutting |
| 3B / 3C | Bouncy ringlets, corkscrews | Dry — curl by curl |
| 4A / 4B / 4C | Tight coils, high shrinkage | Light blowout first |
Not sure of your curl type? Our hair types guide walks you through it with photos.
What Tools Do You Need to Cut Curly Hair at Home?
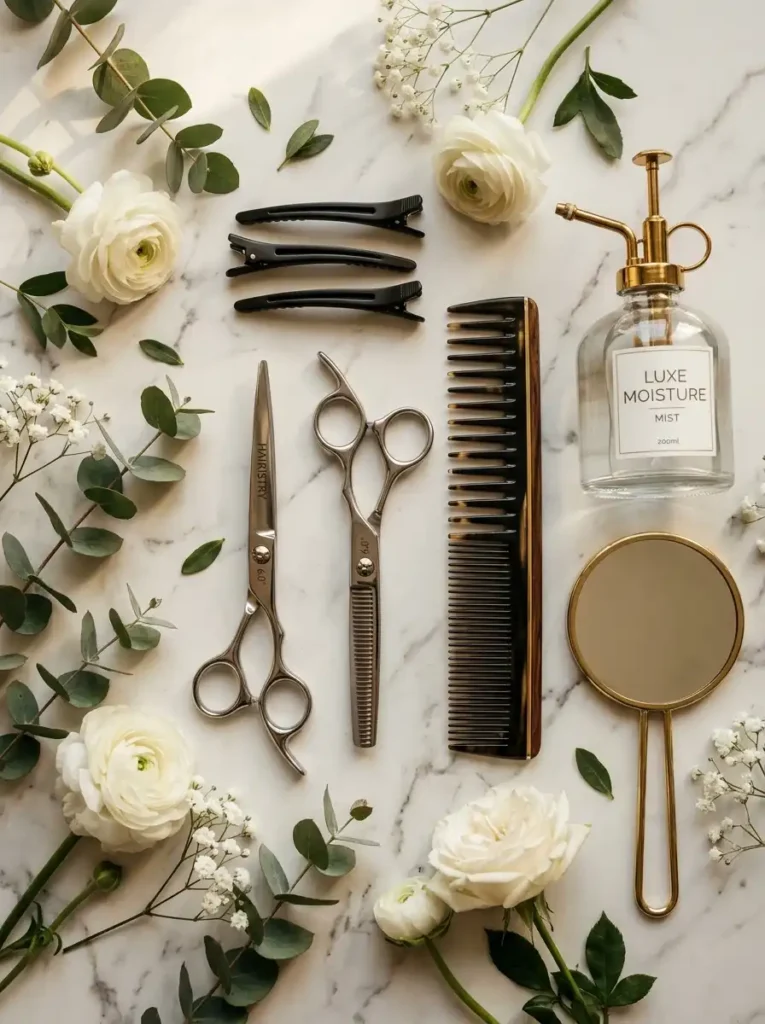
Learning how to cut curly hair at home starts with having the right tools. Using the wrong scissors is one of the biggest mistakes curly girls make:
- Sharp hair-cutting shears — essential. Dull or kitchen scissors cause split ends and frizz immediately.
- Wide-tooth comb — for gentle detangling without disrupting your curl pattern.
- Sectioning clips — to keep hair organized while you work.
- Spray bottle — for a light mist if needed.
- Two mirrors — one large, one handheld — so you can see front and back clearly.
❌ Never use razors, fine-tooth combs, or kitchen scissors when you learn how to cut curly hair at home.
Dry Cut or Wet Cut — Which Is Better When You Cut Curly Hair at Home?
One of the most common questions about how to cut curly hair at home is whether to cut wet or dry. Here is the answer:
Dry cutting is the recommended method for most curl types (2C and above). When your hair is completely dry, you can see exactly how your curls naturally sit — which gives you the most accurate, predictable result. Lorraine Massey recommends cutting on day two or three after washing: “The hair has fully settled into its natural state — each strand will react and expand differently once it’s cut.”
Wet cutting works better for looser waves (2A and 2B) where shrinkage is minimal and precision is easier to achieve.
The hybrid method — dry cut for shape, then a light wet trim for split ends — is popular among those who want the best of both when they learn how to cut curly hair at home.
How to Cut Curly Hair at Home — Complete Step-by-Step Guide
Now that you understand the basics, here is exactly how to cut curly hair at home in 5 simple steps:
Step 1 — Prepare Your Hair
Start with completely dry hair in its natural state. This is crucial — do NOT cut right after washing (curls are not fully settled) and do NOT cut after heat styling (that is not how your curls naturally behave).
- Detangle gently with a wide-tooth comb from ends to roots
- Make sure hair is clean and product-free
- Day two or three hair works best — curls are fully defined
Using a sulfate-free shampoo keeps curls healthy before every at-home trim — our best sulfate-free shampoos guide has the top picks.
Step 2 — Section Your Hair
Proper sectioning is everything when you learn how to cut curly hair at home. Never try to cut all your hair at once — this always leads to an uneven result.
- Part hair from front to back down the middle
- Then part from ear to ear across the crown
- You now have 4 sections — clip 3 away and work on one at a time
- Always start from the bottom section and work upward
Step 3 — Choose Your Cutting Technique

There are three main techniques used by professionals when they cut curly hair at home or in the salon:
The Deva Cut (best for 3A–4A)
Go curl by curl, holding each one in its natural C shape. Snip only the very tip — a fraction of an inch. Never stretch the curl before cutting. This is the most popular method for how to cut curly hair at home precisely.
The Rezo Cut (best for 4A–4C)
Take horizontal sections and cut straight across, following the natural direction of the curl. Great for length retention on tighter textures.
Search and Destroy (best for beginners)
Go curl by curl looking for split ends, damaged strands, and knots — snip only those. No dramatic shape change, just targeted maintenance. The safest way to start learning how to cut curly hair at home.
For adding layers:
Take a top section, hold it straight up at 90 degrees from your scalp, and cut to your desired length. Use this as your guide length for all other sections.
For softer ends:
Angle scissors vertically and point-cut into the ends instead of cutting straight across. This gives a much more natural, feathered finish.
Step 4 — Check Your Work
Once you have cut curly hair at home, evaluating the result is just as important as the cut itself:
- Step back and look from all angles using both mirrors
- Take photos from front, sides, and back — your camera catches unevenness your eye misses
- Shake your head gently and let curls fall naturally
- Make tiny adjustments only — always cutting less than you think you need
The golden rule when you cut curly hair at home: you can always cut more, you can never add length back.
Step 5 — Style and Reveal
- Apply curl cream or gel to damp hair
- Scrunch upward to define curls
- Diffuse on low heat or air-dry completely
- Only evaluate the final shape once hair is 100% dry
How to Cut Curly Hair at Home for Each Curl Type
Loose Waves — 2A and 2B
Wet cutting works well here. Cut in small sections parallel to the hair shaft. Dust the ends every 6–8 weeks to keep the shape fresh.
Defined Waves — 2C
Cut dry to see the natural wave. Focus on removing bulk from the mid-lengths — this prevents the poofy, triangular shape that 2C hair is prone to.
Springy Curls — 3A
The Deva cut method is ideal. Work curl by curl when completely dry. Layers help 3A curls bounce and spring — without them, this type can look heavy.
Bouncy Ringlets — 3B
Cut dry, curl by curl. Shrinkage on 3B is significant — never stretch the curl when you cut curly hair at home. Tiny snips only.
Tight Corkscrews — 3C
Cut dry in small sections. The shrinkage here means even a half-inch cut can look like two inches once dry. Always cut less.
Tight Coils — 4A, 4B, 4C
A light blowout before you cut curly hair at home gives you visibility of your true length. Work in very small, neat sections with sharp shears. Focus on removing damage rather than length.
Common Mistakes to Avoid
Knowing how to cut curly hair at home also means knowing what NOT to do:
- ❌ Stretching curls before cutting — you will cut far too much
- ❌ Using kitchen or craft scissors — invest in proper shears
- ❌ Skipping sectioning — always leads to uneven results
- ❌ Cutting immediately after washing — curls have not settled yet
- ❌ Using a razor — thins the ends and causes frizz
- ❌ Cutting too much at once — shrinkage makes everything look shorter
How Often Should You Cut Curly Hair at Home?

| Goal | How Often |
|---|---|
| General health | Every 6–8 weeks |
| Maintaining length | Every 3–4 months |
| Growing length | Every 4–6 months |
| Keeping short style | Every 3–6 weeks |
For style inspiration between trims, our butterfly layers guide has stunning ideas for every curl type.
Frequently Asked Questions About How to Cut Curly Hair at Home
Is it really safe to cut curly hair at home?
Yes — as long as you use sharp shears, cut in small sections, and work dry. The key to knowing how to cut curly hair at home safely is starting with tiny trims and building confidence each time.
How much should I trim when cutting curly hair at home?
A fraction of an inch at a time. Due to shrinkage, even tiny cuts look dramatic on tighter curl types like 3B, 3C, and 4C.
What is the best method for how to cut curly hair at home?
The Deva cut — working curl by curl while dry — is the most reliable method for curl types 3A through 4A. Beginners should start with the Search and Destroy method.
Can I cut 4C hair at home?
Yes. Do a light blowout first so you can see your true length, then work in very small sections with sharp shears.
How do I avoid frizz when I cut curly hair at home?
Always use sharp hair-cutting shears — never razors or kitchen scissors. Cut in the curl’s natural direction and avoid stretching the hair before cutting.
Final Thoughts on How to Cut Curly Hair at Home
Now you know exactly how to cut curly hair at home — safely, confidently, and with great results. The key is understanding your curl type, using the right tools, working in small sections, and always cutting less than you think you need to.
Start with a simple trim. Build your skills with each session. And remember — the goal of learning how to cut curly hair at home is not perfection. It is healthy, happy curls that look and feel their best every day.
Save this guide and use it every time you need a trim. Your curls will thank you.
Loved this? You might also like:
- Hairstyles for Curly Hair — The Complete Guide
- Hair Types Guide — Find Your Curl Pattern
- Butterfly Layers: Beautiful Ideas for Curly Hair
- Best Sulfate-Free Shampoos for Curly Hair
- 25 Best Short Hair Cuts for Women in 2026