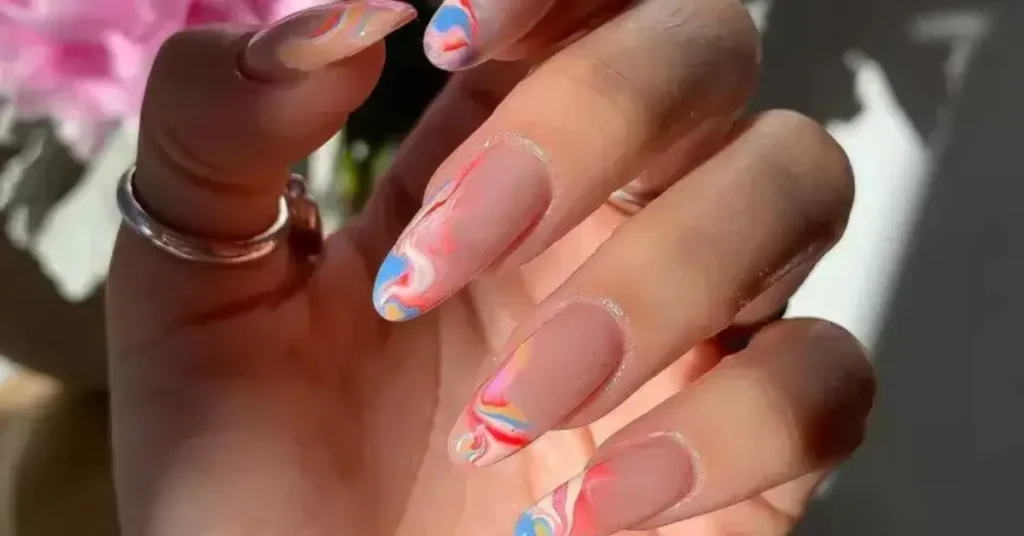
Unlock the secrets to mesmerizing nail art with Blooming Gel. This clear gel polish blends colors in amazing ways. It creates stunning watercolor effects, marble patterns, and more.
Whether you’re an expert or just starting, Blooming Gel lets your creativity shine. It’s a canvas for your imagination to run wild.
Blooming Gel’s formula makes colors blend smoothly. This creates natural, seamless art on your nails. You can try out vibrant floral prints, soothing tie-dye, sleek animal patterns, and captivating gradients.
With Blooming Gel, your nail art will stand out. Make your clients’ nails the envy of everyone.
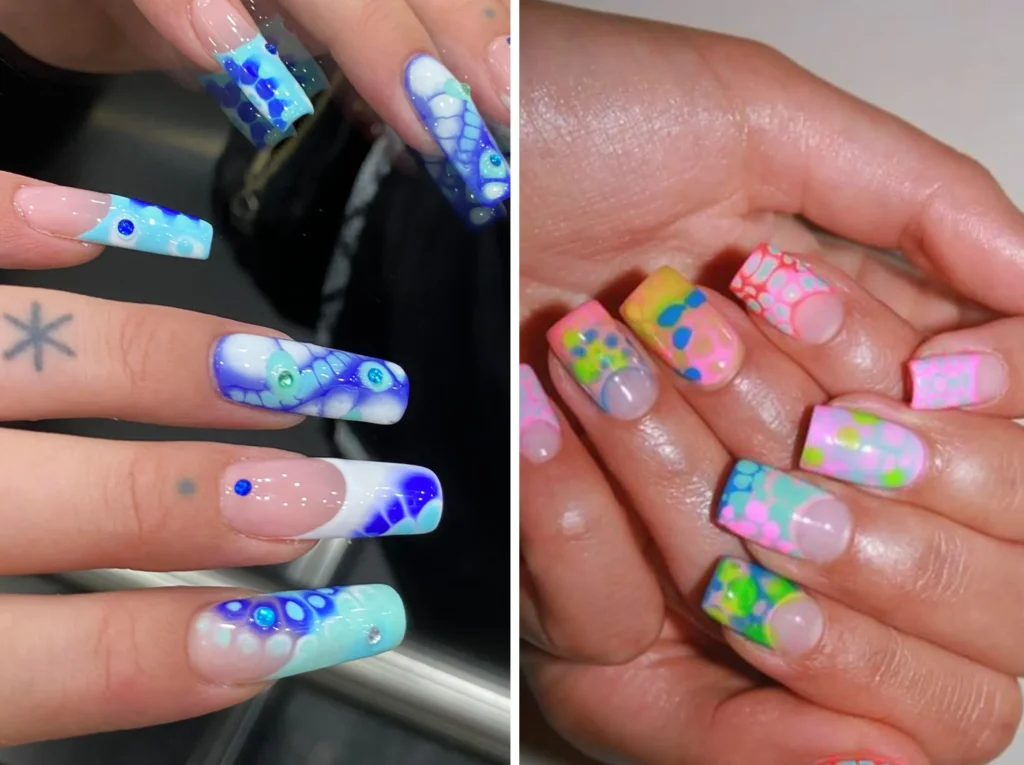
Unlock the secrets to perfect nail art with the magic of Blooming Gel. Discover how this innovative product can transform your nails into mesmerizing masterpieces that leave a lasting impression.
Understanding What Blooming Gel Is and Its Purpose
Blooming gel is a special gel nail polish that makes your nails look amazing. It creates a “blooming” effect by mixing colors in a cool way. This makes your nails look like they were painted with watercolors.
This new product has changed the nail art world. It lets nail artists make beautiful designs easily.
The Science Behind Blooming Gel Effects
The magic of blooming gel comes from its special formula. It mixes colors smoothly before it dries. This makes it perfect for creating cool nail designs.
Key Benefits for Nail Artists
Blooming gel is great for nail artists. It’s easy to use and lets you make amazing designs. You can do cool gradient effects, patterns, and even marble designs.
How Blooming Gel Transforms Regular Polish
Blooming gel takes nail painting to a new level. It lets you make smooth gradients and cool patterns. The blooming effect it creates is truly amazing.
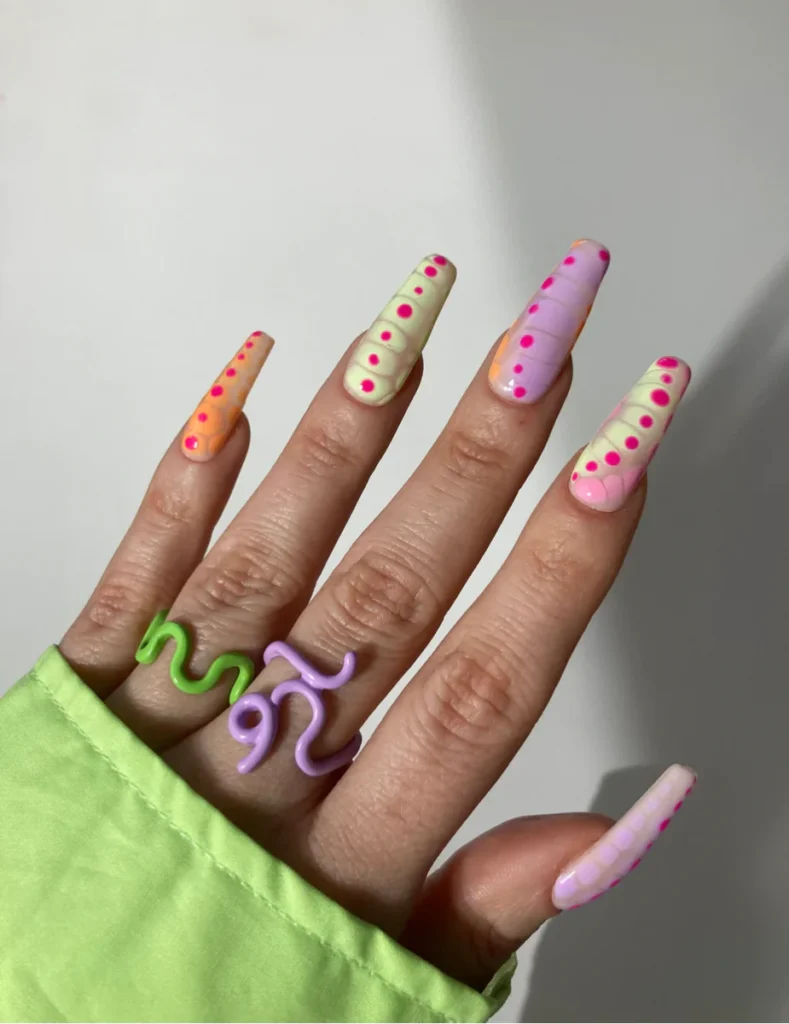
Essential Tools and Materials for Blooming Gel Application
To create stunning nail art with blooming gel, you need the right tools and materials. Start with a 2-in-1 base coat and a variety of gel polish colors. Also, get a UV/LED nail lamp and the blooming gel itself.
High-quality gel polish colors from brands like TGB (The Gel Bottle Inc.) will help spark your creativity. You’ll also need brushes, including detail brushes, for precise application. Don’t forget a top coat to seal your design and make it last longer.
With the right supplies, you can turn your client’s nails into beautiful works of art. Invest in the best products and let your creativity flow!
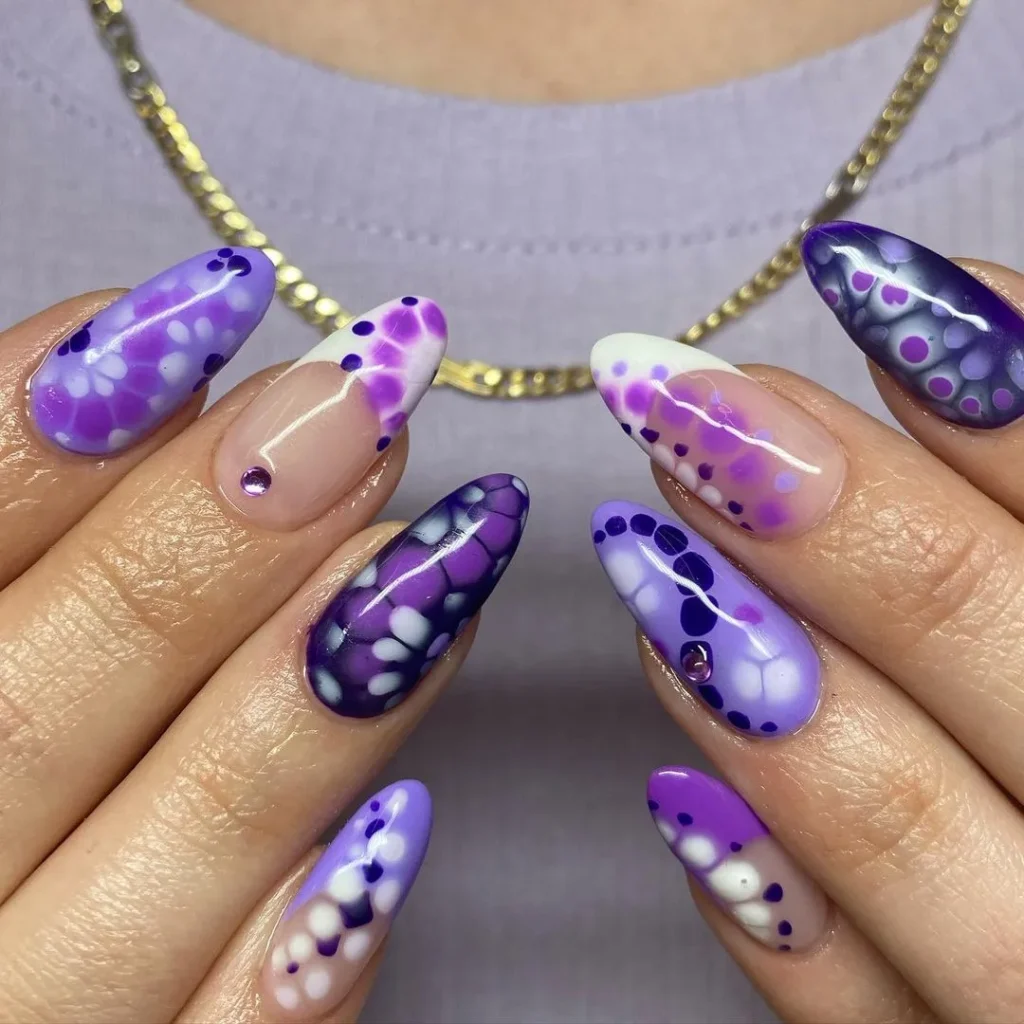
Step-by-Step Guide to Basic Blooming Gel Application
Discover the secrets of blooming gel nail art. It’s perfect for both newbies and seasoned artists. Learn the steps to make your nails a work of art.
Nail Preparation Process
Start with nail prep for a great blooming gel manicure. Clean and shape your nails, push back cuticles, and apply a base coat. This step makes your nails ready for gel.
Application Techniques
After prep, apply the base color and cure it. Then, add a thin layer of blooming gel. Get creative with secondary colors or designs on top. This creates a beautiful, watercolor-like effect.
Curing and Finishing Steps
Once your design is done, cure the nail under UV or LED light. This fixes the colors. Finish with a top coat and cure again. Blooming gel can turn mistakes into amazing art, so don’t worry about errors.
Popular Nail Art Designs Using Blooming Gel
Blooming gel has opened up a world of creative possibilities for nail art lovers. It’s perfect for making marble nails and water color effects. Floral nail art is also popular, with intricate flower patterns that bloom on the nails.
Marble nails are loved for their swirling patterns. Nail artists use a small brush to mix colors, creating a unique marble effect. Colorblock designs, with soft lines and contrasting colors, are also trendy.
Water color nails blend colors with fluid brush strokes, giving a watercolor look. Tie-dye patterns and abstract swirls are fun and vibrant options. These designs let you express yourself in a unique way.
You can add stars or foils to make your nails even more special. Blooming gel is great for both professionals and DIY fans. It offers endless possibilities for creative nail art.
Advanced Techniques for Creating Marble and Water Color Effects
Discover the secrets of blooming gel with advanced nail art techniques. Learn to create marble patterns and blend water colors. These skills will take your designs to the next level, showing off your creativity.
Marble Pattern Creation
To make stunning marble effects, start with a base color of blooming gel. Use a small detail brush to pull secondary colors into swirls. This creates organic patterns that look like real marble. Try contrasting colors for a bold look. Blooming Gel
Water Color Blending Methods
Get the soft, fluid look of watercolor nails with blooming gel. Apply it thinly and blend colors with brush strokes. For overlapping colors, add more gel and blend again
Color Combination Tips
Make your nail art pop with creative color combos. Mix vibrant colors for a bold statement or add a strong accent for depth. Try seasonal colors for the latest trends.
Troubleshooting Common Blooming Gel Issues
Blooming gel nail art is getting more popular, but you might face some issues. Don’t worry, with a bit of troubleshooting, you can fix these problems. This way, you can make stunning, professional designs. Let’s look at some common nail art problems and how to solve them.
One common issue is when colors in your design don’t spread right. This usually happens if the gel layer is too thick. To solve this, apply a thin, even coat of gel. Let it self-level before adding colors. Another problem is color mixing, which can happen if you work too slow. Cure the gel at the right time to keep colors crisp and clear.
Bubbles in the gel can be frustrating. To avoid them, apply thin layers and don’t shake the product before use. Lifting or peeling can also be a problem. But, you can prevent it by preparing your nails well and avoiding cuticles.
Even if your design doesn’t turn out right the first time, don’t get discouraged. Practice makes perfect. The beauty of blooming gel is that even mistakes can look artistic and unique. With patience and the right tips, you’ll soon be making amazing nail art.
Professional Tips for Long-Lasting Blooming Gel Designs
To get stunning and lasting gel nail art, you need to take care of it. Follow these tips to keep your designs looking great and chip-free.
Maintenance Guidelines
Stay away from harsh chemicals and wear gloves for cleaning. Applying cuticle oil regularly helps your nails and makes your gel last longer. With the right care, your gel designs can last up to four weeks.
Removal Best Practices
Soak your nails in acetone for 10 minutes when it’s time to remove your gel manicure. This softens the gel, making it easy to file off. Don’t peel or force the gel off, as it can harm your nails. For best results, see a professional or use nail caps with acetone at home.
By following these tips, your gel nail art will stay beautiful and last longer. You can enjoy your designs for weeks.
Creating Seasonal and Trending Nail Art with Blooming Gel
Take your nail game to the next level with blooming gel! This trend in nail art brings a unique and captivating effect. It’s hard to get with regular nail polish. You can change your colors with the seasons. Try soft pastels for spring, vibrant hues for summer, warm tones for fall, and festive shades for winter.
Keep up with the latest nail art trends with blooming gel. It’s easy to make popular looks like aura nails, abstract patterns, and minimalist designs. Mix the blooming effect with glitter, chrome powders, or nail stickers for a standout look.
Use a UV LED lamp and the right gel polish to make your nails a canvas. Show off your creativity with unique and eye-catching designs. Your nail trends, seasonal nail art, and fashion nails will get all the attention.
Conclusion
Blooming Gel is great for both nail art inspiration fans and pro nail techs. It lets you make amazing professional nail designs. You can try many patterns and effects, from simple to complex.
It’s perfect for anyone, whether you’re experienced or just starting with DIY manicure. Blooming Gell helps you get salon-quality nails at home.
The nail art world is always changing, and Blooming Gell is right in the middle of it. It’s easy to use, lasts long, and offers many effects. This makes it perfect for anyone, from those who like bold looks to those who prefer soft colors.
With Blooming Gell, you can grow your nail art skills. Keep trying new things and watch your nail art improve.
Blooming Gell is essential for anyone who wants to make their nails stand out. It’s perfect for both pro nail techs and DIY lovers. Let Blooming Gell help you create amazing nail art.
Discover more trends:
- Spring 2024 Nail Art Trends are Encouraging Creativity in Manicures
- How to Remove Gel Nails at Home: A Step-by-Step Guide
- 10 Stylish Clear Nail Designs to Elevate Your Manicure Game
- 10 Adorable and Vibrant Summer Nail Designs
- Perfecting Your Gel Polish Manicure: A Comprehensive Guide
- Follow us on Facebook
- Follow us on Pinterest

